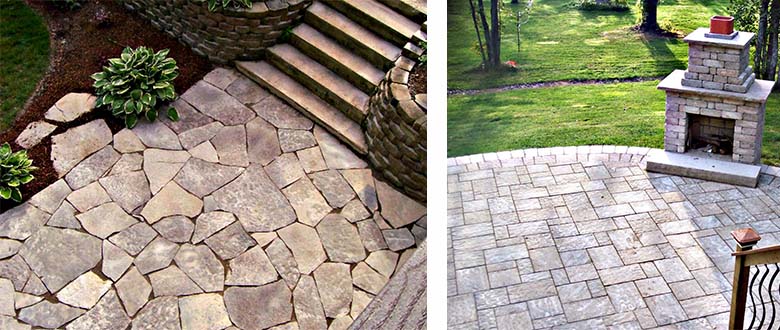
Over the years we’ve seen plenty of beautiful patios and hardscaped areas that our craftsmen have designed and built. On the surface, these patios look gorgeous, but it’s what’s underneath that really matters – and keeps them looking great for years to come.
Building a patio that will hold its shape and structure is more difficult than you might realize. Without a firm foundation, pavers will shift and buckle over time. Cutting corners on paved patios never works out in the long run.
Step 1 – Preparing the Ground: Grading or Leveling
This ensures that the surface is flat and ready for paving. We may have to remove or add dirt and pack it down until it’s firm and even. Depending on soil conditions, and the type of project (walkway vs. driveway) the depth of grading and base materials needed can vary between 4 to 12 inches. If this isn’t done properly, it will lead to an uneven patio and pavers popping out of place.
Step 2 – Footings
If you’re adding extra weight like an outdoor kitchen or fireplace, footings will need to be created. Footings provide a base and more support from below. Large holes are dug and filled with concrete to support the structure for years to come. Otherwise, the weight would eventually shift the packed dirt and the structure would crack or collapse over time.
Step 3, 4 & 5 – Layers
After the footings are dug and the ground is leveled, the layers begin. The more time you spend on the base the easier the rest of the project will go.
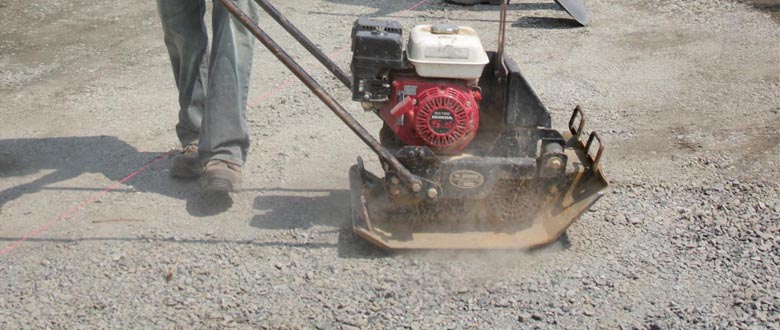
Layer 1 Base Stone or Gravel – This is key to keeping the patio level over time and during seasonal changes. The stone is then tamped or compacted into the dirt below. The coarse stones settle into the soil and their edges lock together to help prevent shifting once the installation is complete.
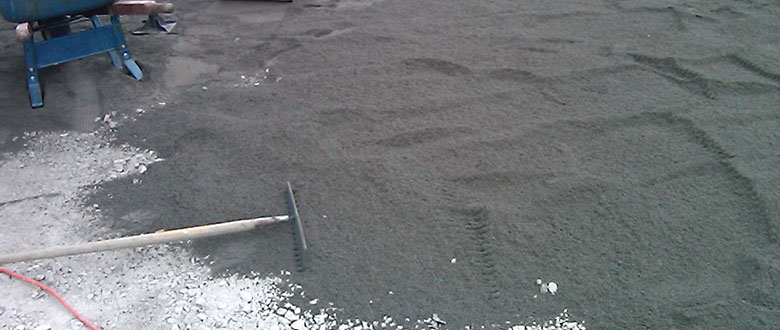
Layer 2 Sand – It’s spread over the base stone filling in crevices and creating a smooth and malleable layer for the pavers to sit. The loose sand is forced up between the pavers to surround and secure the bricks. The sand acts like mortar under kitchen floor tiles, but doesn’t harden, so is more flexible (since the ground outside shifts much more than inside your home). You’re able to shift each brick a little at a time during installation and tap them into place with a rubber mallet to create an even surface.
Layer 3 Pavers – Patterns can be simple lines, interlocking bricks, organic flagstone shapes, intricate circular designs; the possibilities are as endless as your imagination. Starting with a straight string-line, the pavers are laid and checked about every 4 feet for accuracy.
Step 6 – Securing in Place
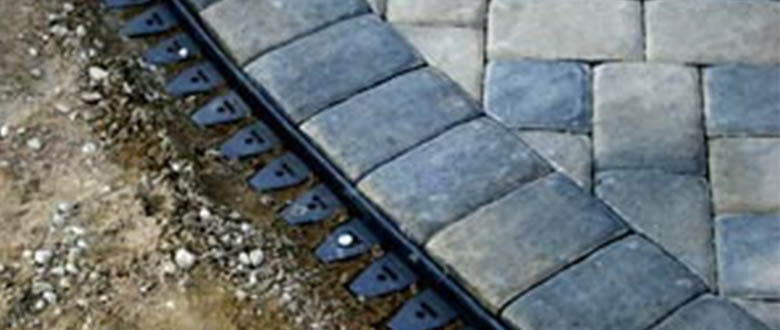
The edges of the patio need to be secured in place so they don’t get knocked out of place, or expand outward over time. If the pavers aren’t already edged by a structure like the foundation of your home, you will need to put in restraints. Invisible edging systems can be spiked into the base materials and are flexible, so you can still fine-tune your design.
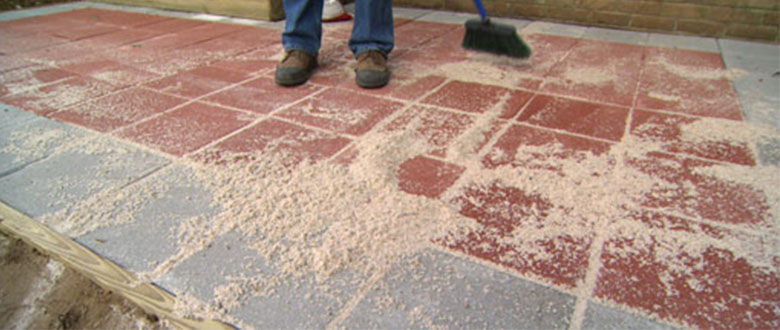
Step 7 – Final Finish
After cleaning the surface of dust and construction debris, the stones are inspected to make sure the patterns and colour are distributed evenly. Once everything is properly in place, the stones will be tamped with a compactor in all directions. Then a final layer of polymeric sand is spread and swept across the surface of the patio. The sand works its way into the nooks and crannies, then it’s exposed to water to harden in place.
As you can see, building a patio is a labour intensive process. Simply picking out your favourite stone and placing them down probably wouldn’t even last one season. This is one project where it pays to have the professionals come in and do it right. Check out our gallery of stone patio photos here.